Client Relationship Management
Record additional details using data tables
In order to capture additional details, Please go through following steps:
- Go to Admin >> System >> Manage Datatables
- Then Click on "Create Data Table" tab to see the following screen.

Field Name (attribute) Description Example Validations (if applicable) Data Table Name Please provide appropriate Data Table name Client's Marital Status Application Table Name From Drop-Down menu, select 'Clients' Multi Row Check this if multiple rows are required to capture additional details of the client. Add Columns Provide Appropriate Column Name and select Column Type (Ex: String, Number , Date, etc) from drop-down menu and click on '+' button to add the column and finally click on "Submit" button to create data table. - Once Data Table is created, then Go to any client's profile to enter additional details as shown in following screenshots.
1. Click on Marital Status( the additional detail created by data table)
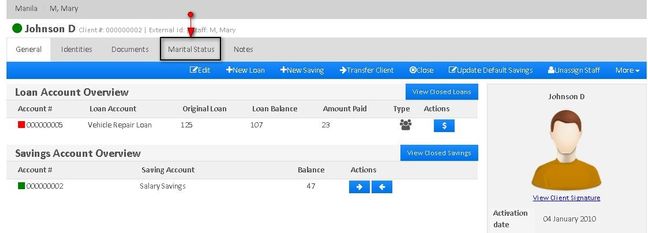
2. Click on "+Add" button.

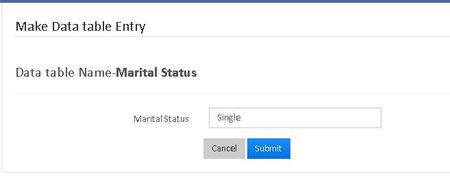
3. Enter the details and Click on 'Submit' button.
Upload Documents of a Client
- Go to the Client's profile and click on 'Documents' tab
- A new window will appear. There is a '+Upload' tab at top right corner. Click on it to see the following window.

Field Name (attribute) Description Example Validations (if applicable) Name Provide the name of the document to be uploaded Passport Description Give some little information about the document Passport Details Browse Click on 'Browse' button to select the file(document) from your computer. Finally click on Submit button to upload the file
- A new window will appear. There is a '+Upload' tab at top right corner. Click on it to see the following window.
Record additional information using notes
If any other additional information of Clients needed to be saved for future reference Notes Can be used.
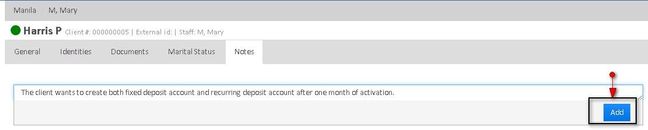
- Go to Client's profile and click on 'Notes' Tab
Enter the additional information and click on 'Add' button.
Related articles